Tag: recipe

  • Sourdough starter care, week by week

    Everyone who takes our Saturday class goes home with a jar of our starter. About half of them email us within a month to ask whether it has died. It almost never has. Here is what to expect in the first weeks, and what to do about it.
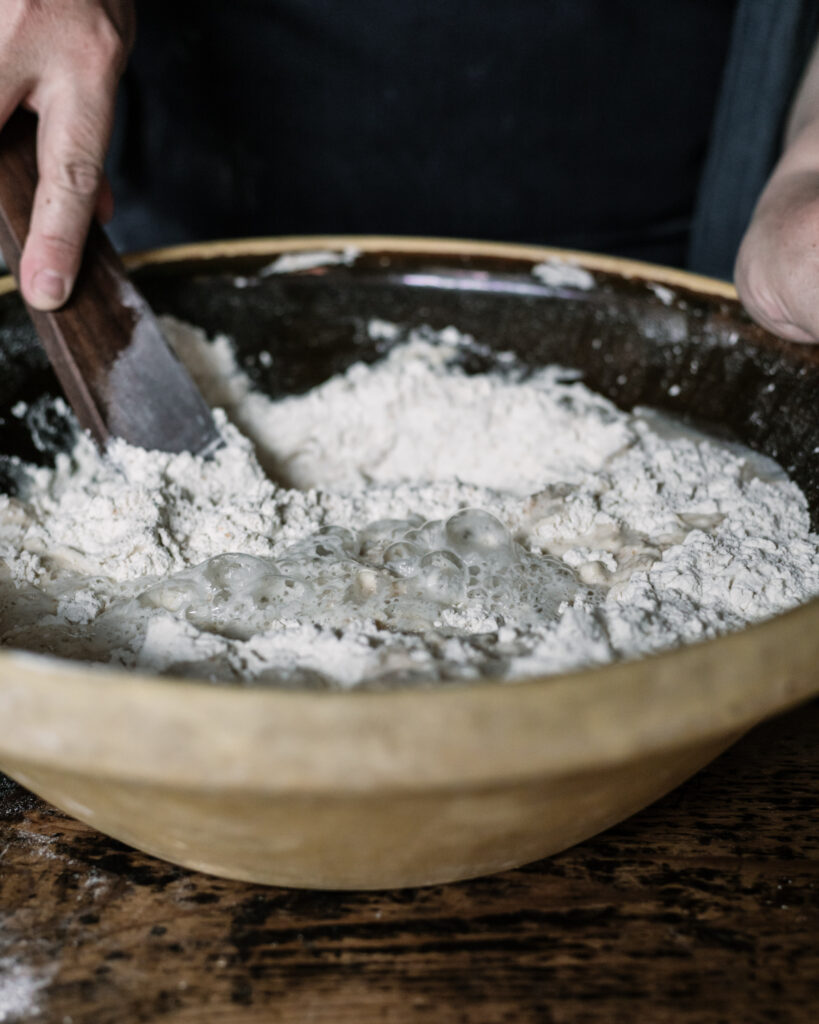
    Sourdough starter being mixed into flour in a bowl
    Photo: William George James, CC BY-SA 4.0, via Wikimedia Commons

    Week one: settle it in

    Your starter has moved from a warm bakery to your kitchen and it will sulk. Feed it once a day with equal weights of flour and water, discarding all but a spoonful first. Keep it somewhere steady, away from the window. Do not bake with it yet.

    Week two: find its rhythm

    By now it should rise and fall on a predictable schedule, usually doubling four to eight hours after a feed. Note the time it peaks. That peak is when it is strongest, and it is when you want to mix your dough.

    Week three onwards: the fridge

    If you bake once a week, keep the starter in the fridge and feed it once a week. Take it out the day before you bake, give it two feeds at room temperature, and it will be ready.

    Signs it is fine, even when it looks alarming

    • A grey liquid on top. That is alcohol from a hungry starter. Pour it off and feed.
    • A sharp, vinegary smell. Same cause, same cure.
    • No rise after one feed. Give it three before worrying.

    The one sign it really is finished: pink or orange streaks, or fuzzy mould. Throw it away and ask us for another jar. We have plenty.
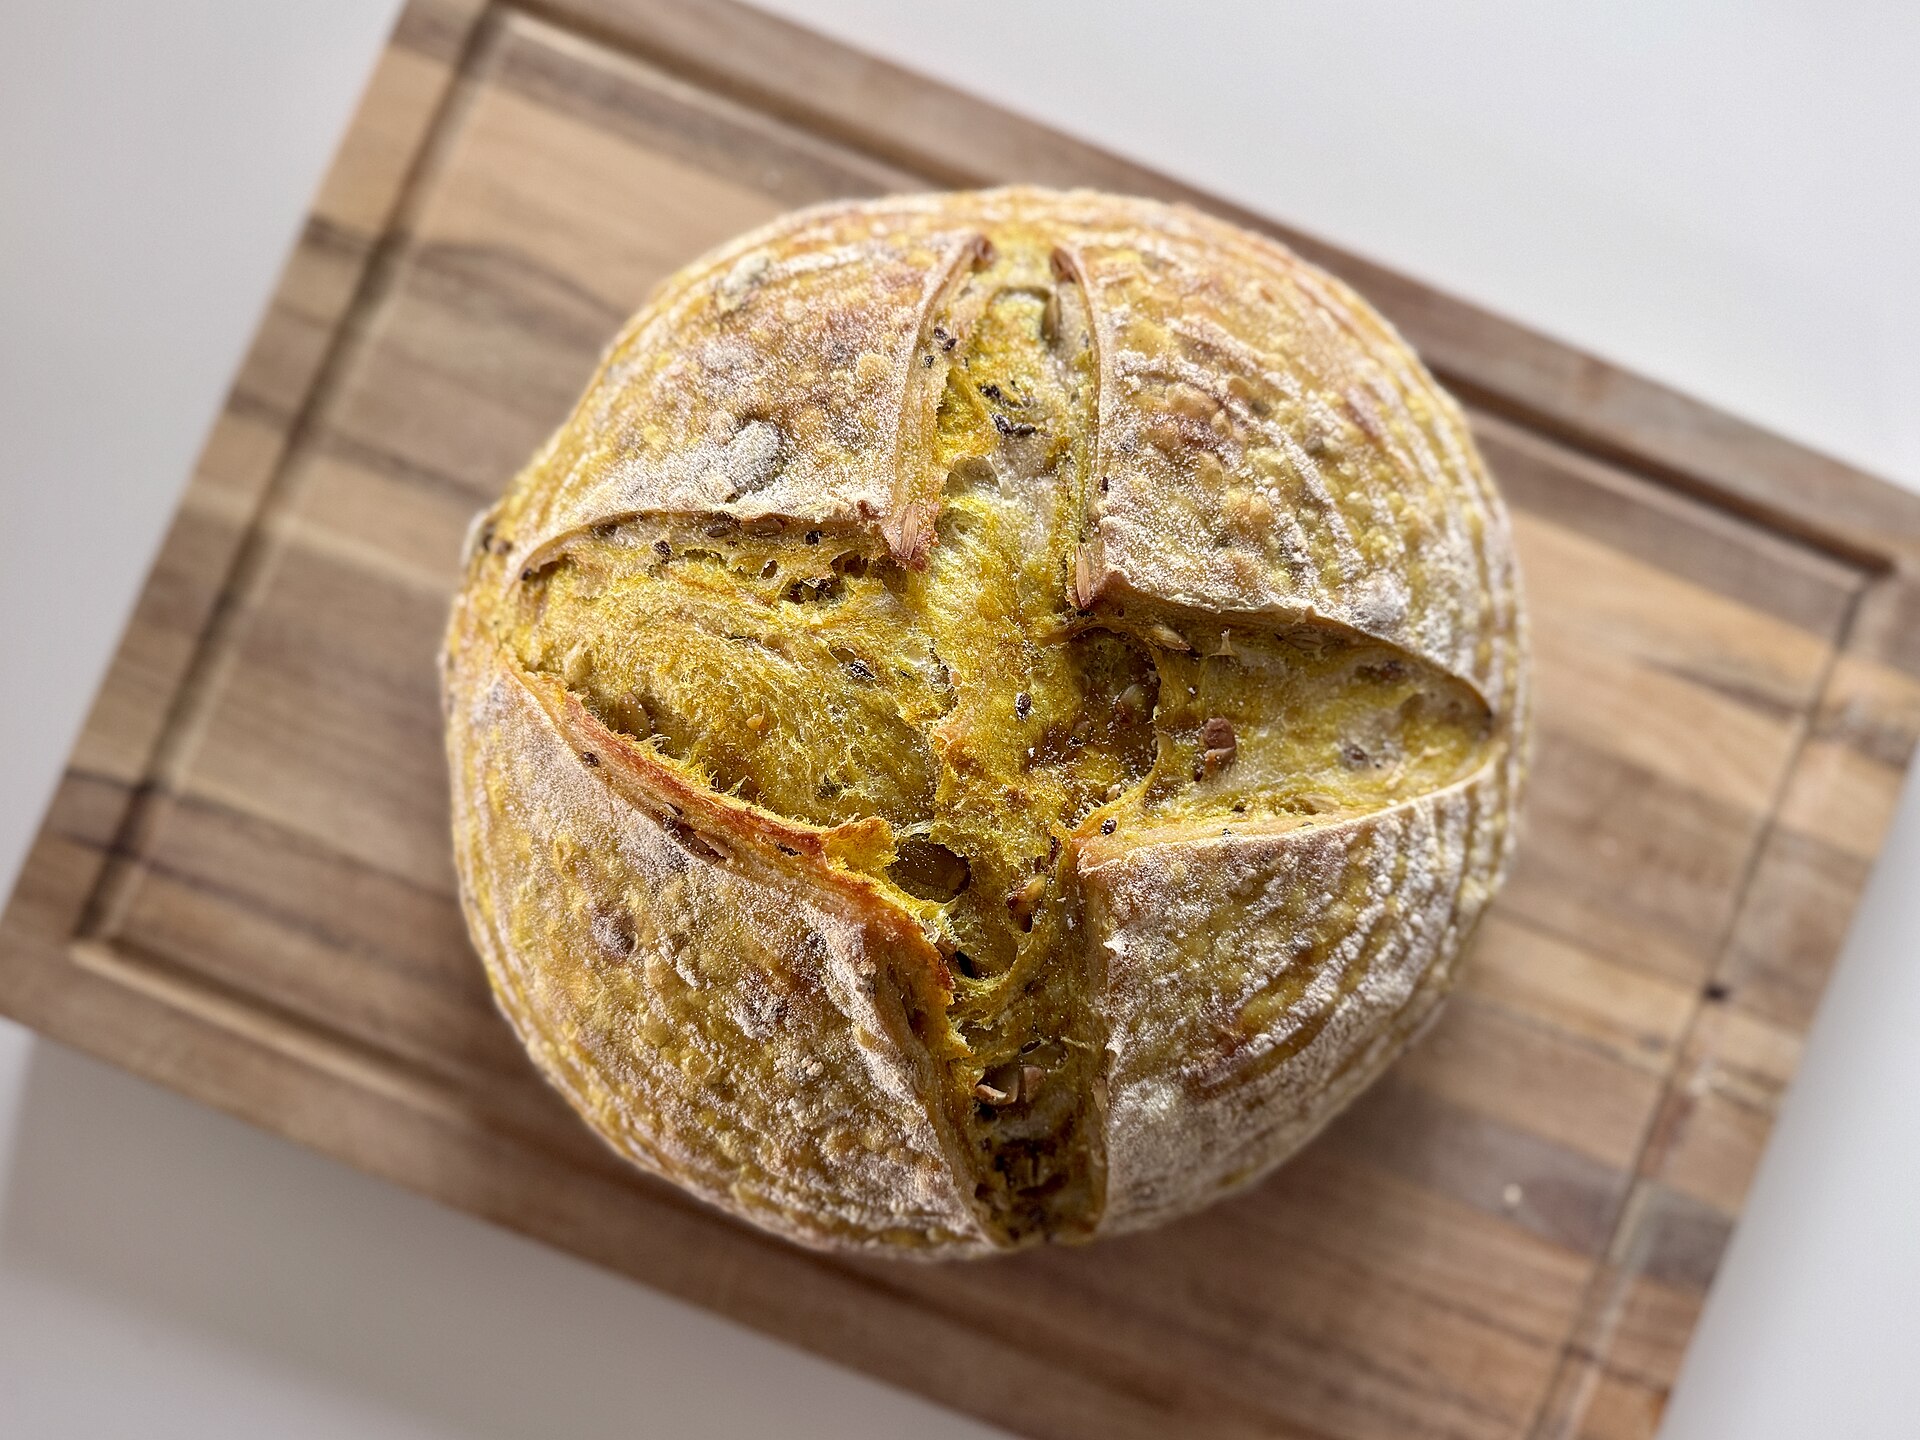
  • A no-knead loaf you can make at home

    A no-knead loaf you can make at home

    This is the loaf we teach on the first half of our Saturday class, written down so you can make it without us. It needs no starter, no mixer and almost no kneading. It does need time, so start it the evening before you want to bake.

    Ingredients

    • 500 g strong white bread flour
    • 10 g fine salt
    • 2 g instant yeast (about half a teaspoon)
    • 375 g water at room temperature

    Method

    1. In a large bowl, stir the flour, salt and yeast together. Add the water and mix with a spoon or your hand until there is no dry flour left. It will look rough and sticky. That is correct.
    2. Cover the bowl and leave it at room temperature for 12 to 18 hours. The dough is ready when it has roughly doubled and the surface is dotted with bubbles.
    3. Tip the dough onto a floured surface, fold the edges into the middle to make a rough ball, and turn it seam-side down. Rest it for an hour under a tea towel.
    4. Put a lidded cast-iron pot in the oven and heat to 240°C for 30 minutes.
    5. Lift the dough into the hot pot, cover, and bake for 30 minutes. Remove the lid and bake 15 minutes more, until the crust is deep brown.
    6. Cool on a rack for at least an hour before cutting. The inside is still cooking.

    Once this works for you, swap 100 g of the white flour for wholemeal. Once that works, come to the class and we will talk you into a starter.